
i carry your heart with me(i carry it in
my heart)i am never without it(anywhere
i go you go,my dear;and whatever is done
by only me is your doing,my darling)
-- ee cummings
-- ee cummings

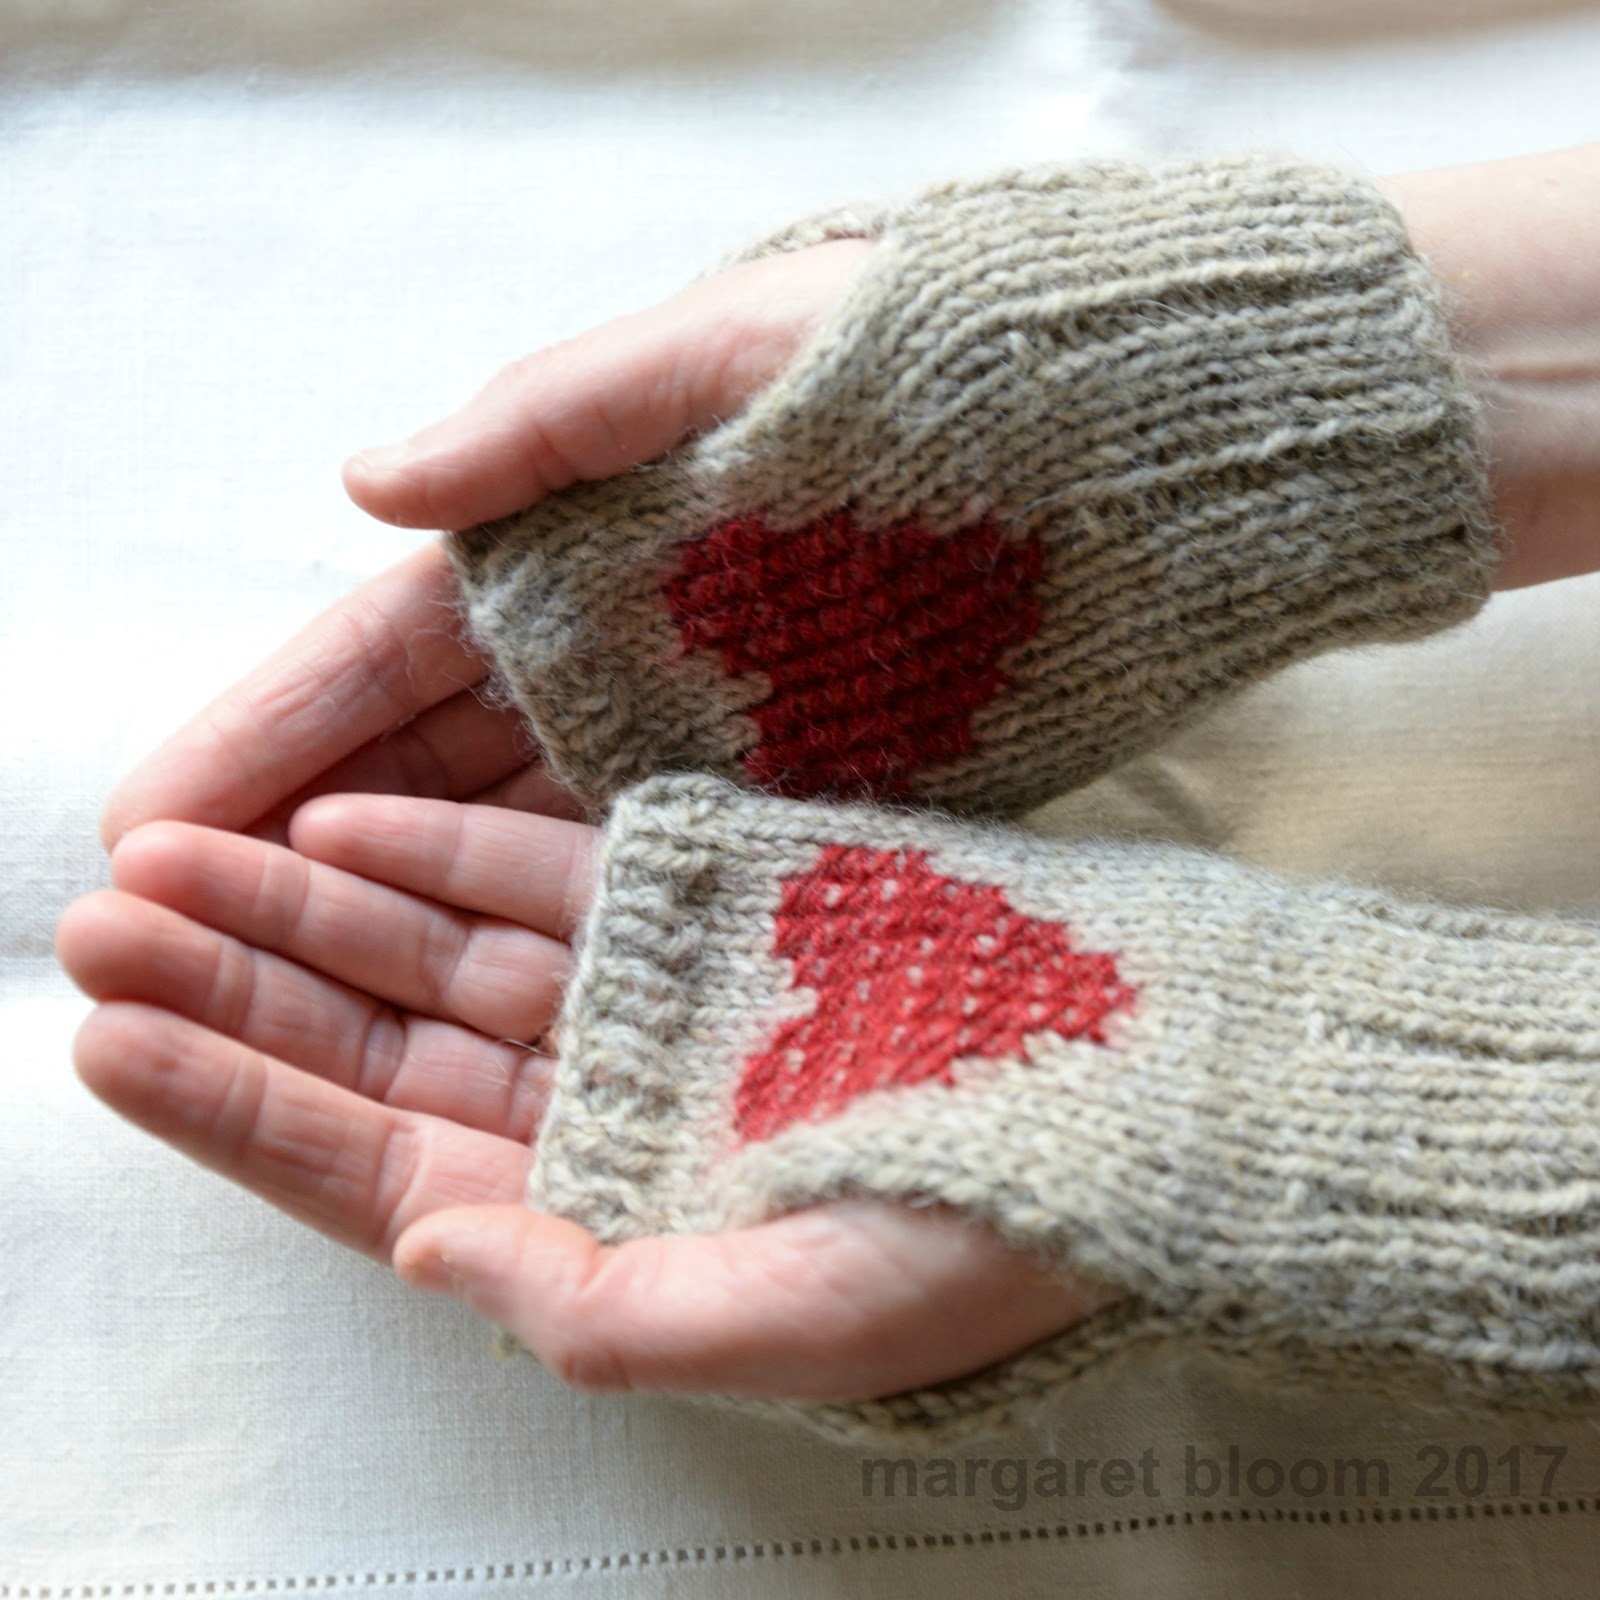
For the past two years, I've had several knitting projects in mind which I've hoped to document and share with you -- but I haven't had the time. For me, knitting projects are more time consuming than all others; however, last week, it suddenly felt urgent to share this project with you in time for Valentine's Day.
The materials you need for these mitts are basic: worsted yarn plus some lace weight (or 2-3 plies separated from a length of 6-ply DMC embroidery floss).
Please note: for me, knitting is a calming meditation, but I don't find it relaxing to hold the tension between DPN's as I switch from needle to needle. Hence these instructions are written for the mitts to be knit flat and then seamed up the side, however, this project may easily be converted to be knit in the round with DPN's. Please feel free to convert it if that's your preference!

i carry your heart mitts
MATERIALS REQUIRED
For this
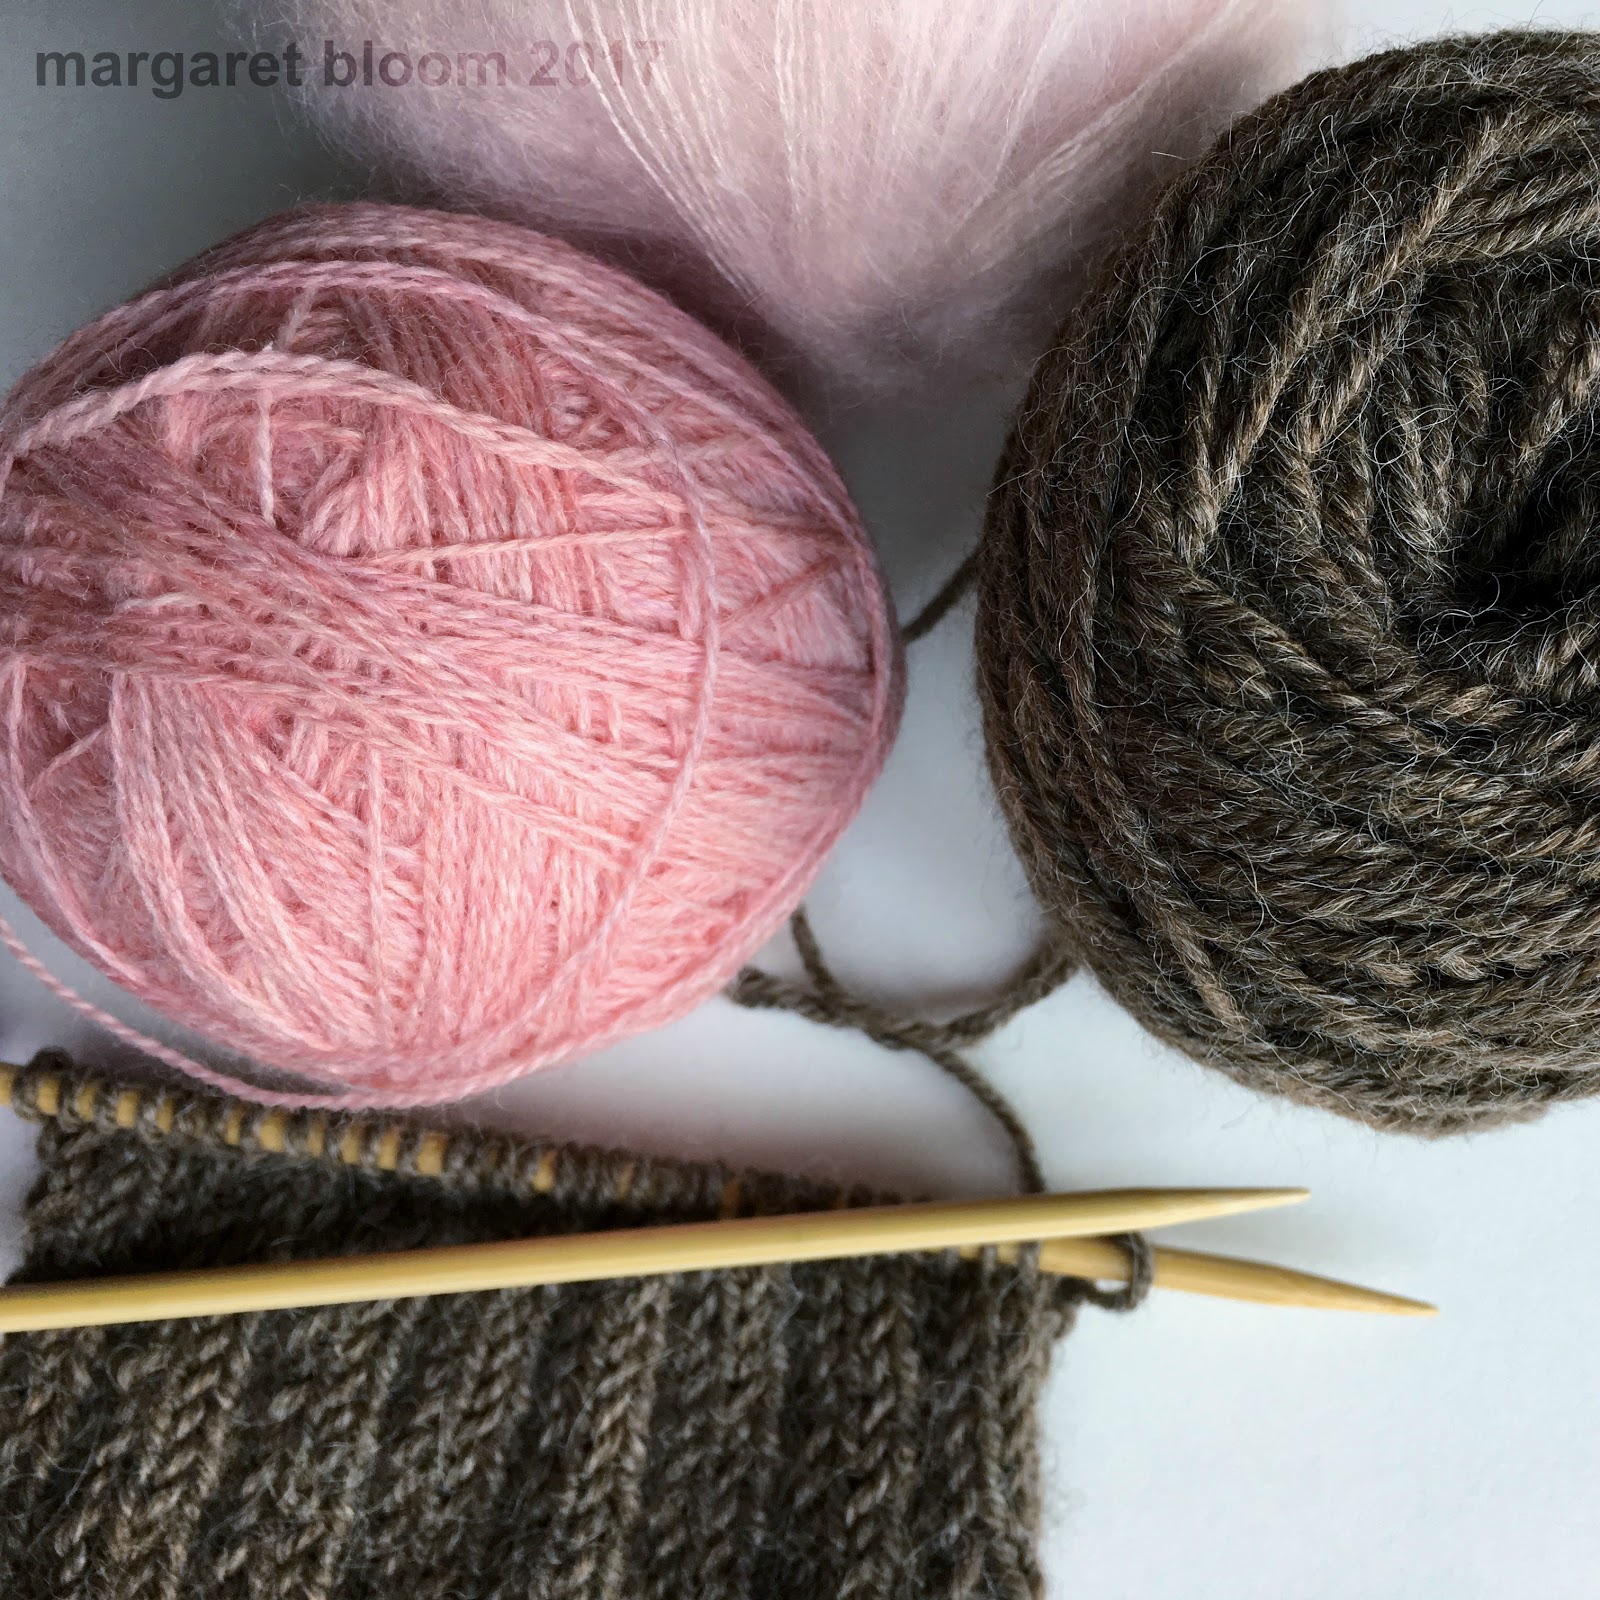
project you will need worsted weight and lace weight yarn. I knit two pairs of these mitts using
Berrocco Ultra Alpaca and a third pair using Knit Picks Wool of the Andes (combined
with a strand of Knit Picks Aloft for extra color and dimension). For the embroidery, I combined one strand of
Knit Picks Alpaca Cloud with a strand of Knit Picks Aloft. If you don’t have lace weight yarn on hand,
you might substitute 2-3 plies separated from a 6-ply strand of DMC embroidery
floss.
NEEDLE SIZE
US size 7
(4.5mm)
STITCHES USED
Stockinette
Stitch: knit (RS), purl (WS)
Ribbed
Stitch 1: k3, p1 (RS)/ p3, k1 (WS)
Ribbed
Stitch 2: k1, p1 (RS)/p1, k1 (WS)
GUAGE
9 st/14 rows
= 2 in stockinette
FINISHED SIZE
3.25 (8 cm)
wide (after seaming)
6.25
inches(16 cm) long
NOTES
This pattern
is designed to knit flat and seam up the side, however the pattern can easily
be converted to knit with DPN’s in the round.
To knit in the round, CO 32 (to complete ribbing pattern) and proceed.
DIRECTIONS
CO 31 st
(leave long tail for seaming)
Odd # rows
1-15: (k3, p1)* repeat until last 3 st, k3
Even # rows
2-16: (p3, k1)* repeat until last 3 st, p3
Odd # rows
17-35: k across row
Even # rows
18-36: p across row
Row 37: (k1,
p1) repeat across row (ending on k st)
Row 38: (p1,
k1) repeat across row (ending on p st)
Cast off in 1x1
ribbing pattern. Leave long tail for seaming.
 |
| placing markers to indicate the bottom tip of the heart |
EMBROIDERY DIRECTIONS
First mitt: From left edge, count 8st.
From bottom edge, count up 20 rows (or count up 4 rows from 1st row
of stockinet section). Place a marker.
This marker indicates the bottom point of the heart. You will find instructions for doing cross-stitch
on hand knit fabric and a diagram for embroidering cross-stitch heart below.
Second mitt: From right edge, count
8st. From bottom edge, count up 20 rows (or count up 4 rows from 1st
row of stockinet section). Place a marker.
This marker indicates the bottom point of the heart. Use diagram for embroidering cross-stitch
heart. You will find instructions for
doing cross-stitch on hand knit fabric and a diagram for embroidering
cross-stitch heart below.
Note: if you are not sure regarding
placement of markers to indicate bottom points of the hearts, please refer to
above photo showing the markers.
 |
| cross-stitch |
CROSS STITCH
Thread a tapestry needle with 2 strands of lace-weight yarn; you can use a strand of two different types of lace weight for various effects and texture, or two strands of the same type of yarn – you may also substitute 2-3 plies DMC embroidery floss. Please refer to diagram for stitching the heart, plus instructions below and/or photo indicating method for cross-stitch on hand knit fabric.
The
following instructions are from Knitted Embellishments by Nicky Epstein
(Interweave Press, 1999):
For
the best appearance, the top strand of all cross-stitches should be worked in
the same direction.
Bring
threaded needle out from back to front at lower left edge of the knitted stitch
you want to cover. Working from left to
right, *insert the needle at the upper right edge of the same stitch and bring
it back out at the lower edge of the adjacent stitch, directly below and in
line with the insertion point. Repeat
from * to form one half of the X. Then
work from right to left in the same manner to work the other half of the
cross-stitch.
 |

SEAMING
Fold mitt in
half so that 1x1 ribbing is across the top.
Thread tapestry needle with tail of yarn left over from binding
off. Sew edges together 1.5 inches (4
cm) using mattress stitch. Make a discreet knot and weave in end. Instructions
for mattress stitch can be found here and here.
Thread tapestry
needle with tail from casting on. Sew up
side of mitt from the bottom, until the opening for thumb is 1.75 inches (4.5
cm). Make a discreet knot and weave in
end.

* If you enjoyed this project, I hope you will post a photo of your own work on the Ravelry page here.
Hello,
ReplyDeleteYours mitts are very lovely and the embroidery of the hearts inside is a very nice idea.
Have a nice day with love, love, love
Christineh
These are beautiful. I want to try making a pair. " I carry your heart" is one of my favorite poems. Thank you for sharing this pattern
ReplyDeleteI'm not sure if my previous comment sent,as it asked me to create a profile. These are beautiful. "I carry your heart" is one of my favorite poems. Thank you for sharing this tutorial!
ReplyDeleteI love that poem! I wish I could knit - never got past crochet - and these are great!
ReplyDeleteThese are adorable! You are amazing. What a great idea!
ReplyDeleteI love how you adjusted these mittens to be for relaxing/meditating knitting. I knit for those reasons and now when that little voice inside says I should do "more" "harder" knitting, I know I'm not alone. Thank you...Sally
ReplyDeleteYou're so very welcome!!
Delete